Step 1: Register at GitHub.com
In order to work with GitHub (accessing source code, forking, checking-in etc.) you would need an active user account with GitHub.
Registration is free.
Step 2: Install the “Git Source Control Provider” Visual Studio Extension Visual Studio 2012 does not support Git by default (VS2013 supports Git right out of the box). Microsoft has created an extension that adds the support and required features to VS 2012.
You can download this extension here
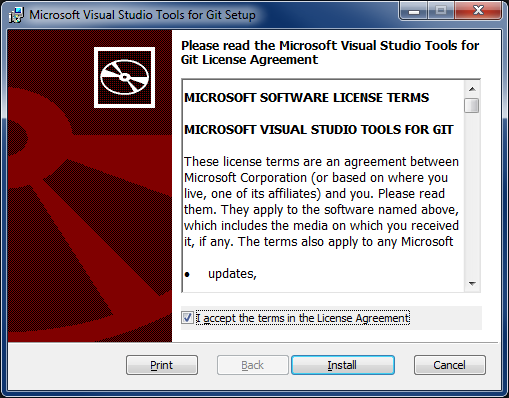
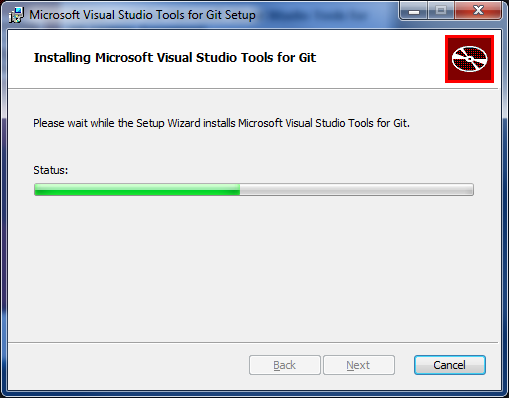
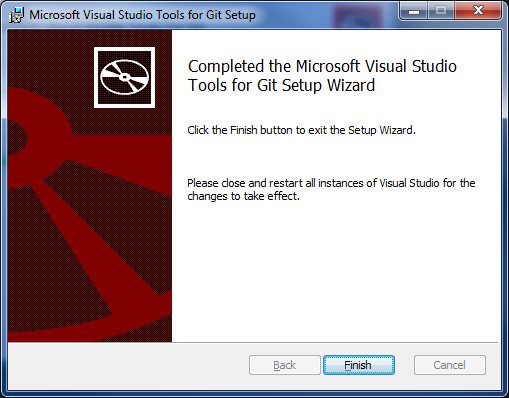
Step 3: Install VS2012 Git Source Control Provider
Installation is quick… just click Next… Next… Next and you are done.
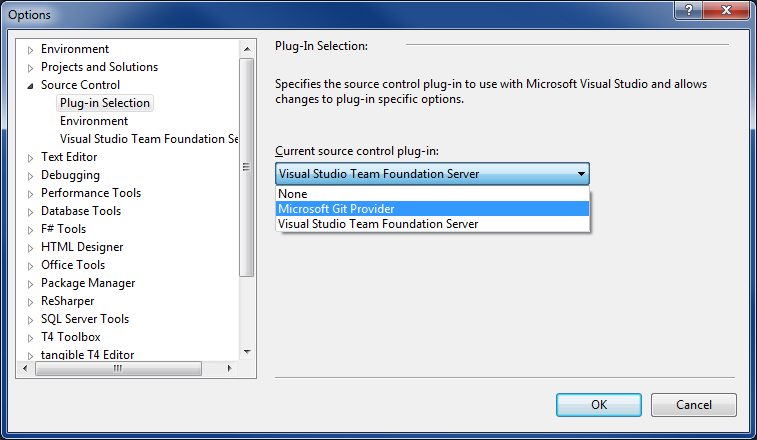
Step 4: Configure VS2012 to use the GIT Source Control Provider Select: Tools -> Options  Step 5: Find the Source Control Provider Settings In the options page choose: Source Control Provider
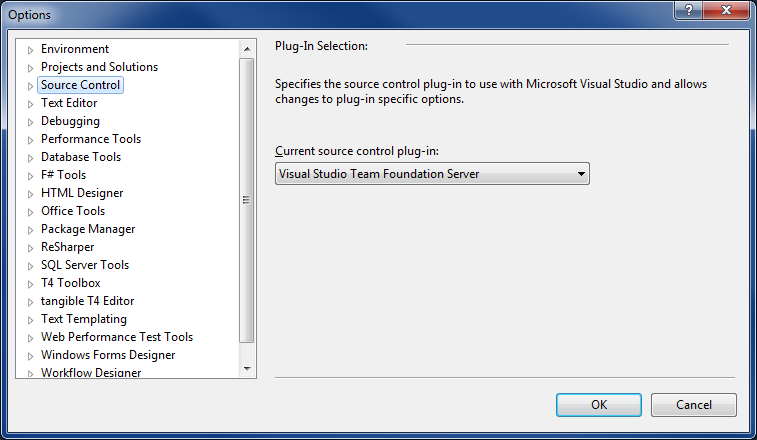
Step 6: Change the Source Control Provider Settings From the drop down list select the Microsoft Git Provider and click OK
Step 7: Fork the project In this tutorial, I chose the ASP.NET MVC project located here https://github.com/aspnet/Mvc Click the Fork button located in the top-right corner of the screen

This will result in your own copy of the repository located in: https://github.com/{GIT-USERNAME}/Mvc which will be available for you in this text box:
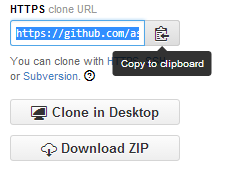
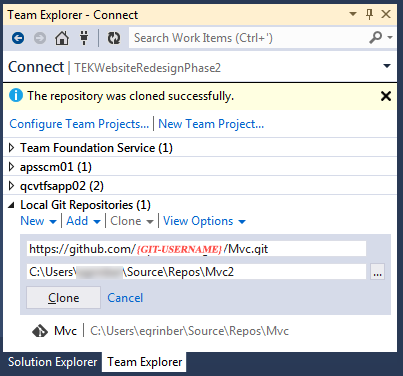
Step 8: Clone the repository on your local machine In the Team Explorer window, expand the Local Git Repositories node. Click Clone Copy your forked repository address from the GitHub website and paste it into the repository location text box
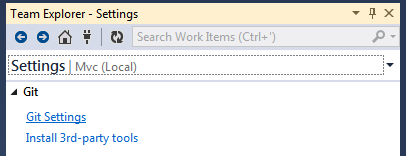
Step 9: Configure your GitHub Credentials On the Team Explorer window, click on Home -> Settings
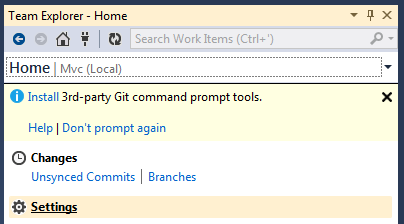
Select Git Settings
Fill in your Git username and email address
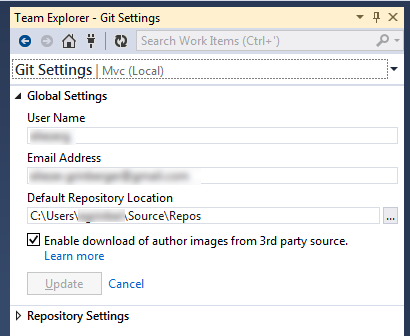
Visual Studio will ask for your GitHub password the first time to try to synch changes. Congatulations! You can now work in Visual Studio 2012 and sync your work with GitHub.